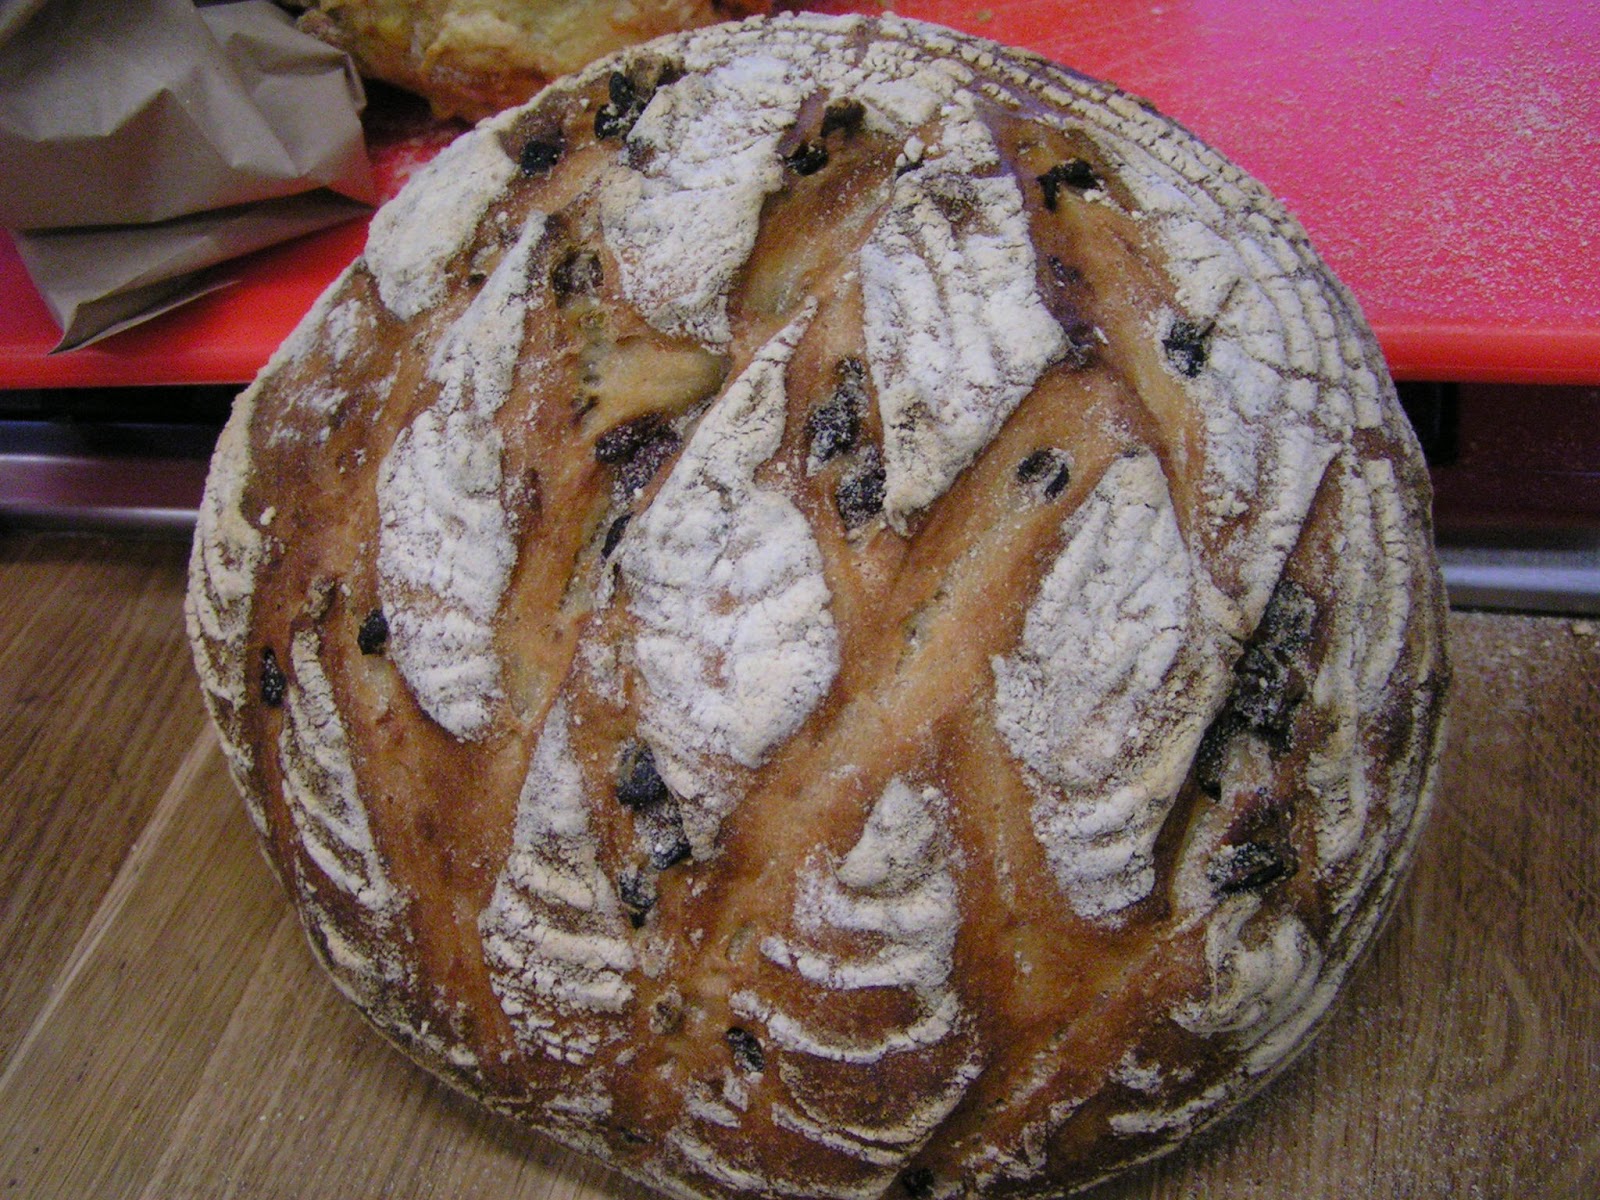
When I started this series of posts, I mentioned that you can use sourdough starter in a yeasted loaf for structure and flavour, or on its own as the only raising agent in your loaf. The latter is more like you might imagine a sourdough loaf to be - quite dense, flavourful and about as far removed from your average pappy white sliced loaf as you can get. We made a fantastic cranberry, yoghurt and orange sourdough loaf on the River Cottage Bread Course:
 |
| I made that, I did! |
So a yeasted loaf. You use dried yeast, and the sourdough starter is used for flavour and structure. What I have found works really well is to follow the 'sponge' method - this regardless of whether you are using the sourdough starter in your dough or not. Basically, you mix a third of your ingredients (flour, dried yeast, salt and liquid) together the night before you want to bake - or it will work if you do it in the morning then leave it over the day to bubble up. This is your sponge. When you come to bake your loaf, you add this to the remaining two thirds of your loaf ingredients.
I'm working on the basis of a kilo of flour because that's what I always do. The bread freezes brilliantly so even if you're not going to eat 2 loaves, it's always worth making at least this amount and freezing the second loaf. You can scale the recipe up or down as necessary.
While we're on the subject of ingredients and quantity, I noticed while we were on the River Cottage course that Aidan, the baker who was teaching us, didn't really bother with scales. As he said - he just knows what the right proportions are, basically by eye. He encouraged us to do the same. Well, I'm no where near knowing how much flour I can fit in my hand, so I'm still weighing the dry ingredients out but I am getting better at adding the liquid by eye. You see, apparently, flour is different - even from bag to bag of the same type and brand, so if you can be a bit relaxed about it, and go with what the dough is looking like and feeling like, so much the better.
So have I wurbled enough? Shall we get on with it?
Yeasted White Bread - makes 2 loaves
1kg organic strong white flour plus extra for dusting/flouring worktops and proving baskets
10g dried yeast
20g salt
approx 200ml sourdough starter
fine semolina (for dusting baking sheets)
You will also need a large mixing bowl, tea towels, bread proving baskets, or 2 bowls, each lined with a tea towel, 2 baking sheets, a sharp knife, a water sprayer bottle
So first, make your sponge. Take about a third of your ingredients - you don't need to be exact, but say 300g flour, 3g (about half a sachet) yeast, a good teaspoon of salt - and mix it with about 200ml water. Cover loosely - a tea towel etc - and leave out overnight. Or mix up in the morning and leave for the day.
The next step is where it gets interesting. In a bowl, put the remaining flour, and then separately, the rest of the yeast and salt - apparently, you don't want to put the salt and yeast in to the bowl on top of each other because the salt can damage the dried yeast.
Then, using your fingers like a mixing fork, mix up the dry ingredients -
So now, once it's all mixed together, put about 300ml water in a jug.
Tip the sponge into the flour, and then the 200ml or so of starter, then add around 200ml of the water slowly, but see how the dough is looking and if it can take more (and you can cope with it) add some more. If you aren't using starter, just use more liquid.
 |
| flour and sponge - unfortunately forgot to take a pic once the starter was added too |
You are aiming for a wet dough, but not too unmanageably wet. It's a bit of a trial and error thing this, but the wetter the dough, the better.
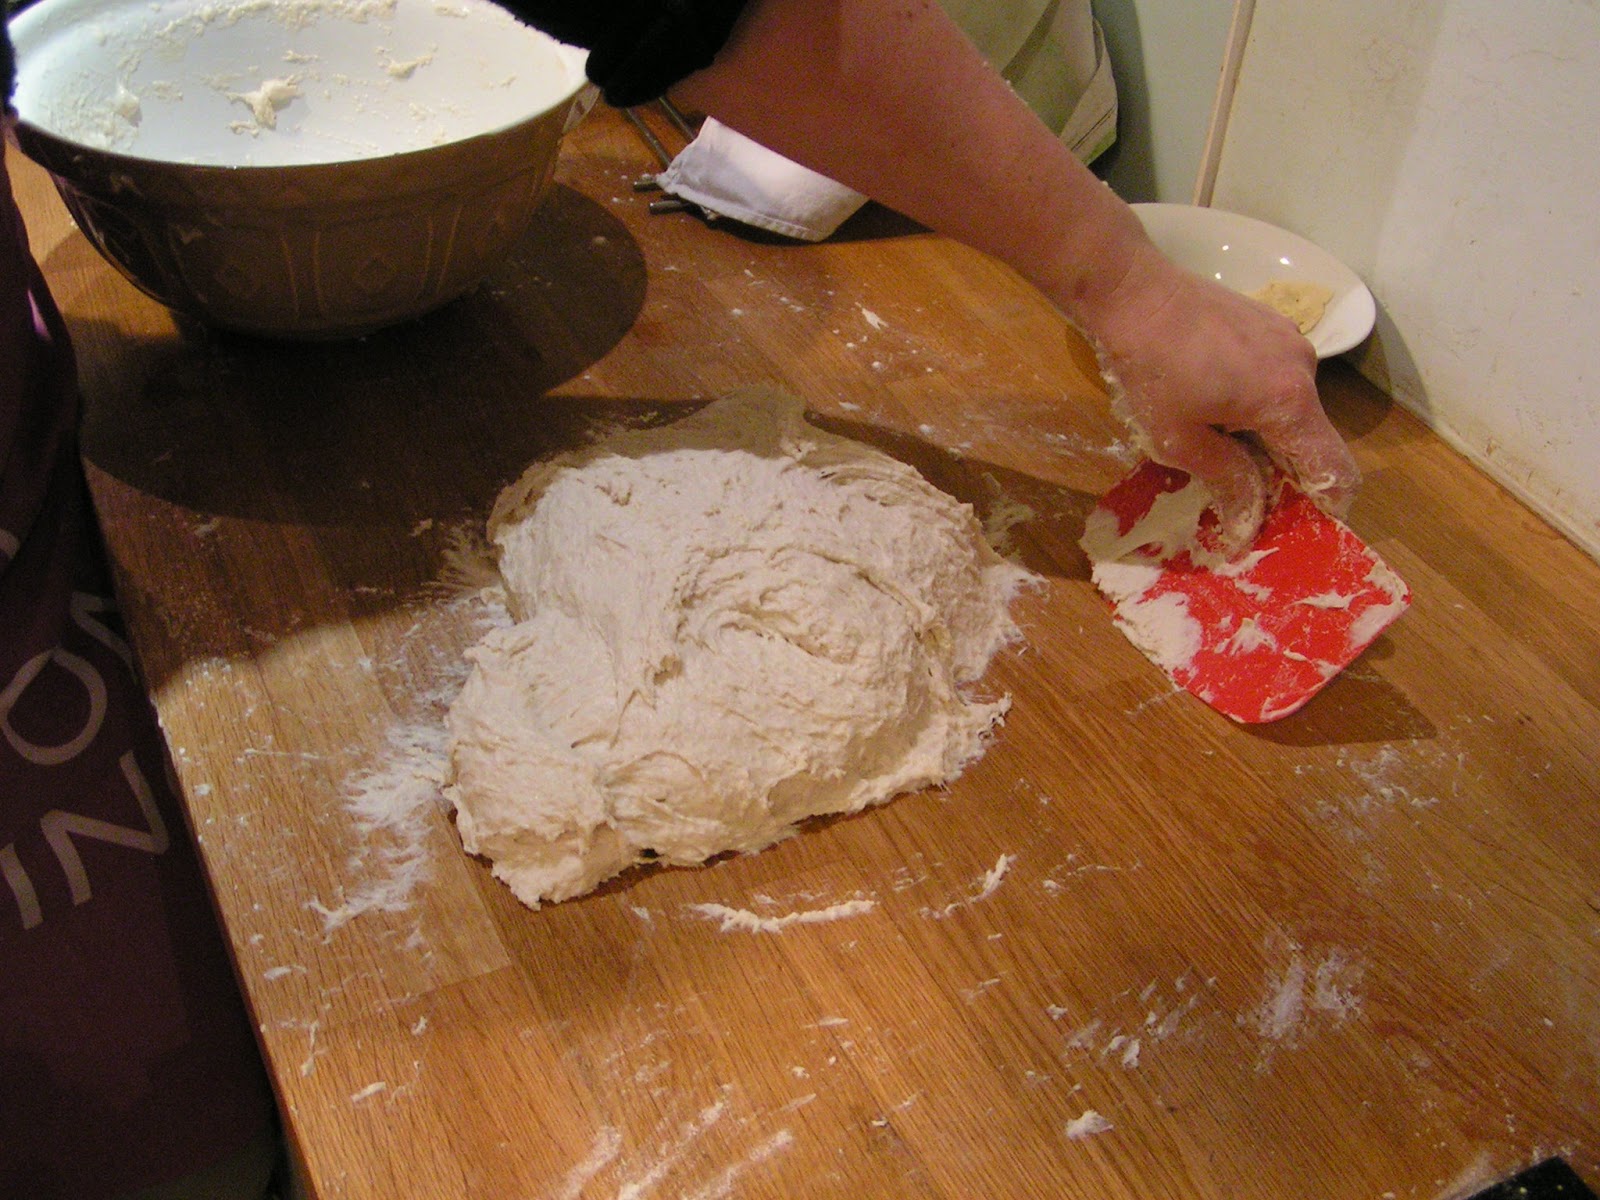
Empty out the dough onto a floured worktop. Then you need to knead. Now you can imagine that it was a bit tricky to take these photos, what with my hands covered with dough, so I enlisted the Husband to help. As I kneaded, he snapped away. Please ignore the bowl of mouldy cucumber slices and old pasta destined for the chickens there in the background.
Back to the kneading. You're kind of tearing and pulling the dough apart. If it sticks to the work top, scrape it back with your dough scraper or whatever you are using as a dough scraper substitute.
keep going...
...even if it's really sticky - just go with it
...and as you go on, the dough will start to come together,
and eventually you'll end up with a nice ball of dough. You really will, although it might take 10-15 minutes. This is about the most time any of these stages takes.
Once you've got your kneaded dough, put it back in the bowl you started in, and cover with a tea towel. I am also experimenting with using a plastic bag at this stage - 2 carrier bags over the bowl.
You don't need to put the dough anywhere especially warm to rise. I can assure you that our kitchen is definitely cold, but it doesn't seem to be a problem. You can also put your bowl in the fridge at this stage and leave your dough to rise overnight - just remember to bring it back up to room temperature before continuing.
Once your dough has risen, you need to tip it out onto the work surface again, and divide it into 2 to shape your loaves for the second rise
 |
| Risen! |
So, you need to shape your 2 pieces of dough. This is where I failed to take any pics (or to get the Husband to take any pics) but you need to shape each piece into a round (if you're making a round loaf) by kind of cupping the piece of dough and turning it round in your hands and tucking it underneath. There's a pretty good film here on Loaf Online which is a very interesting website.
The key is to work quite gently, and quickly if you can. When you're done, put the dough, smooth side down, into your bread basket (or tea towel lined bowl) which you have well floured:

Leave your bread to rise again. You can, if necessary, put the dough in the fridge again at this stage (I did it the other night when I forgot that it was going to be too late - just let it come back to room temperature before continuing with the bake) - it will feel springy and have increased in size again. This shouldn't take as long as the first rise, so you can probably put your oven on - heated as high as it will go - or up to 230C.
You need to get yourself organised at this point. Get your baking sheets ready, along with oven gloves, tea towels, a water sprayer bottle (or bowl of water), and make sure you have a sharp knife and your semolina to hand.

Once your loaves are looking risen and ready to bake, put your baking sheets into the oven for 5-10 minutes to heat up, and while that's going on, gently loosen the dough from the basket by pulling it gently from the side of the basket - in a moment you're going to be tipping it out onto a really hot baking sheet, and you don't want it getting stuck!
Working quickly, whip your baking sheets out of the oven, dust with semolina and tip out the dough,
Slash the top a few times with a sharp knife
and whack back into the oven. Grab your water sprayer and generously spray all round the oven, or flick water from the bowl round the oven. As an update on my post about bits and pieces you might need, when baking bread, you can get water sprayer bottles in Robert Dyas for 99p. That's 99p well spent, I have to say. No more water sploshed all over the floor by the oven for me.
But I'm digressing.
So your bread is in the oven and it's baking. I've tried baking bread following lots of different temperatures and times. My current preferred method is the one that Aidan Chapman explained on the bread course, which is very straightforward - hot oven, 20-25 minutes, turn the bread round half way through baking. I haven't fiddled much with this in my post-course baking, although I have taken to turning my oven down a smidge once the bread is in - the dial says it gets up to 240 C (fan) and I turn it down to between 220-230 once I've put my bread in, but it's still a work in progress.
When the bread comes out of the oven you need to check that it's cooked - turn it over and give it a tap. It will sound hollow. If it doesn't, take the loaves off the baking tray and put them back into the oven directly onto the oven shelf for 5 minutes or so.
Hopefully you will have loaves that look like this:
 |
| Although yours will probably be round! |
Or this (although forgive the lighting issues I had with this photo):

So there we have it. I hope this is easy to follow. As I said when I started this, I'm not claiming to be an expert, but I'm giving it a go and making pretty nice bread (if I may say so), so if I can help by answering any questions, just leave a comment or tweet me!
And to recap - making a starter is here; bits and pieces you might or might not need to make bread is here, and a post about looking after your starter is here.
Happy Baking!


 :.
:.