
I am a monthly contributor over at Made From Pinterest. Be sure to go check out my recent post here. In return, I am happy to have the ladies from Made From Pinterest here each month. Enough talk, here they are...
Hello! Debbie, Sherri and I are tickled to be here with you every month.
We are three sisters who make and create the things that we pin from Pinterest and then share our results with you! Some of the pins we make "Rock" and some of them are a "Flop". Our blog helps us to actually make and enjoy what we find on Pinterest, but it also helps us stay in touch with each other. We all live in different parts of the United States. We love that we can work together even though we live far apart. Besides blogging and Pinterest we love spending time together as a family whenever possible. Between the three of us we have 10 children, 2 grandchildren and another Grandchild due any day! On to our post from Tracy today.

One of my families favorite shows happens to be Cake Boss. My 16 year old daughter is the one who got us started watching it during season 2. The only thing that she doesn't like about the show is how everyone on the show pronounces the word fondant. According to my daughter and Merriam-Webster it is pronounced "fond" (like I am fond of you) and "ant" like the bug. The show pronounces it "fond-daunt". My daughter pronounces it fondent. As long as it looks and tastes good I don't care how you pronounce it! My first try working with fondant was a sheet I purchased at Michaels. It must have been close to the expiration date because it was dry and difficult to work with. I knew there had to be a better way. I found this marshmallow fondant from Traylor Made Treats and decided try the homemade route!
Ingredients

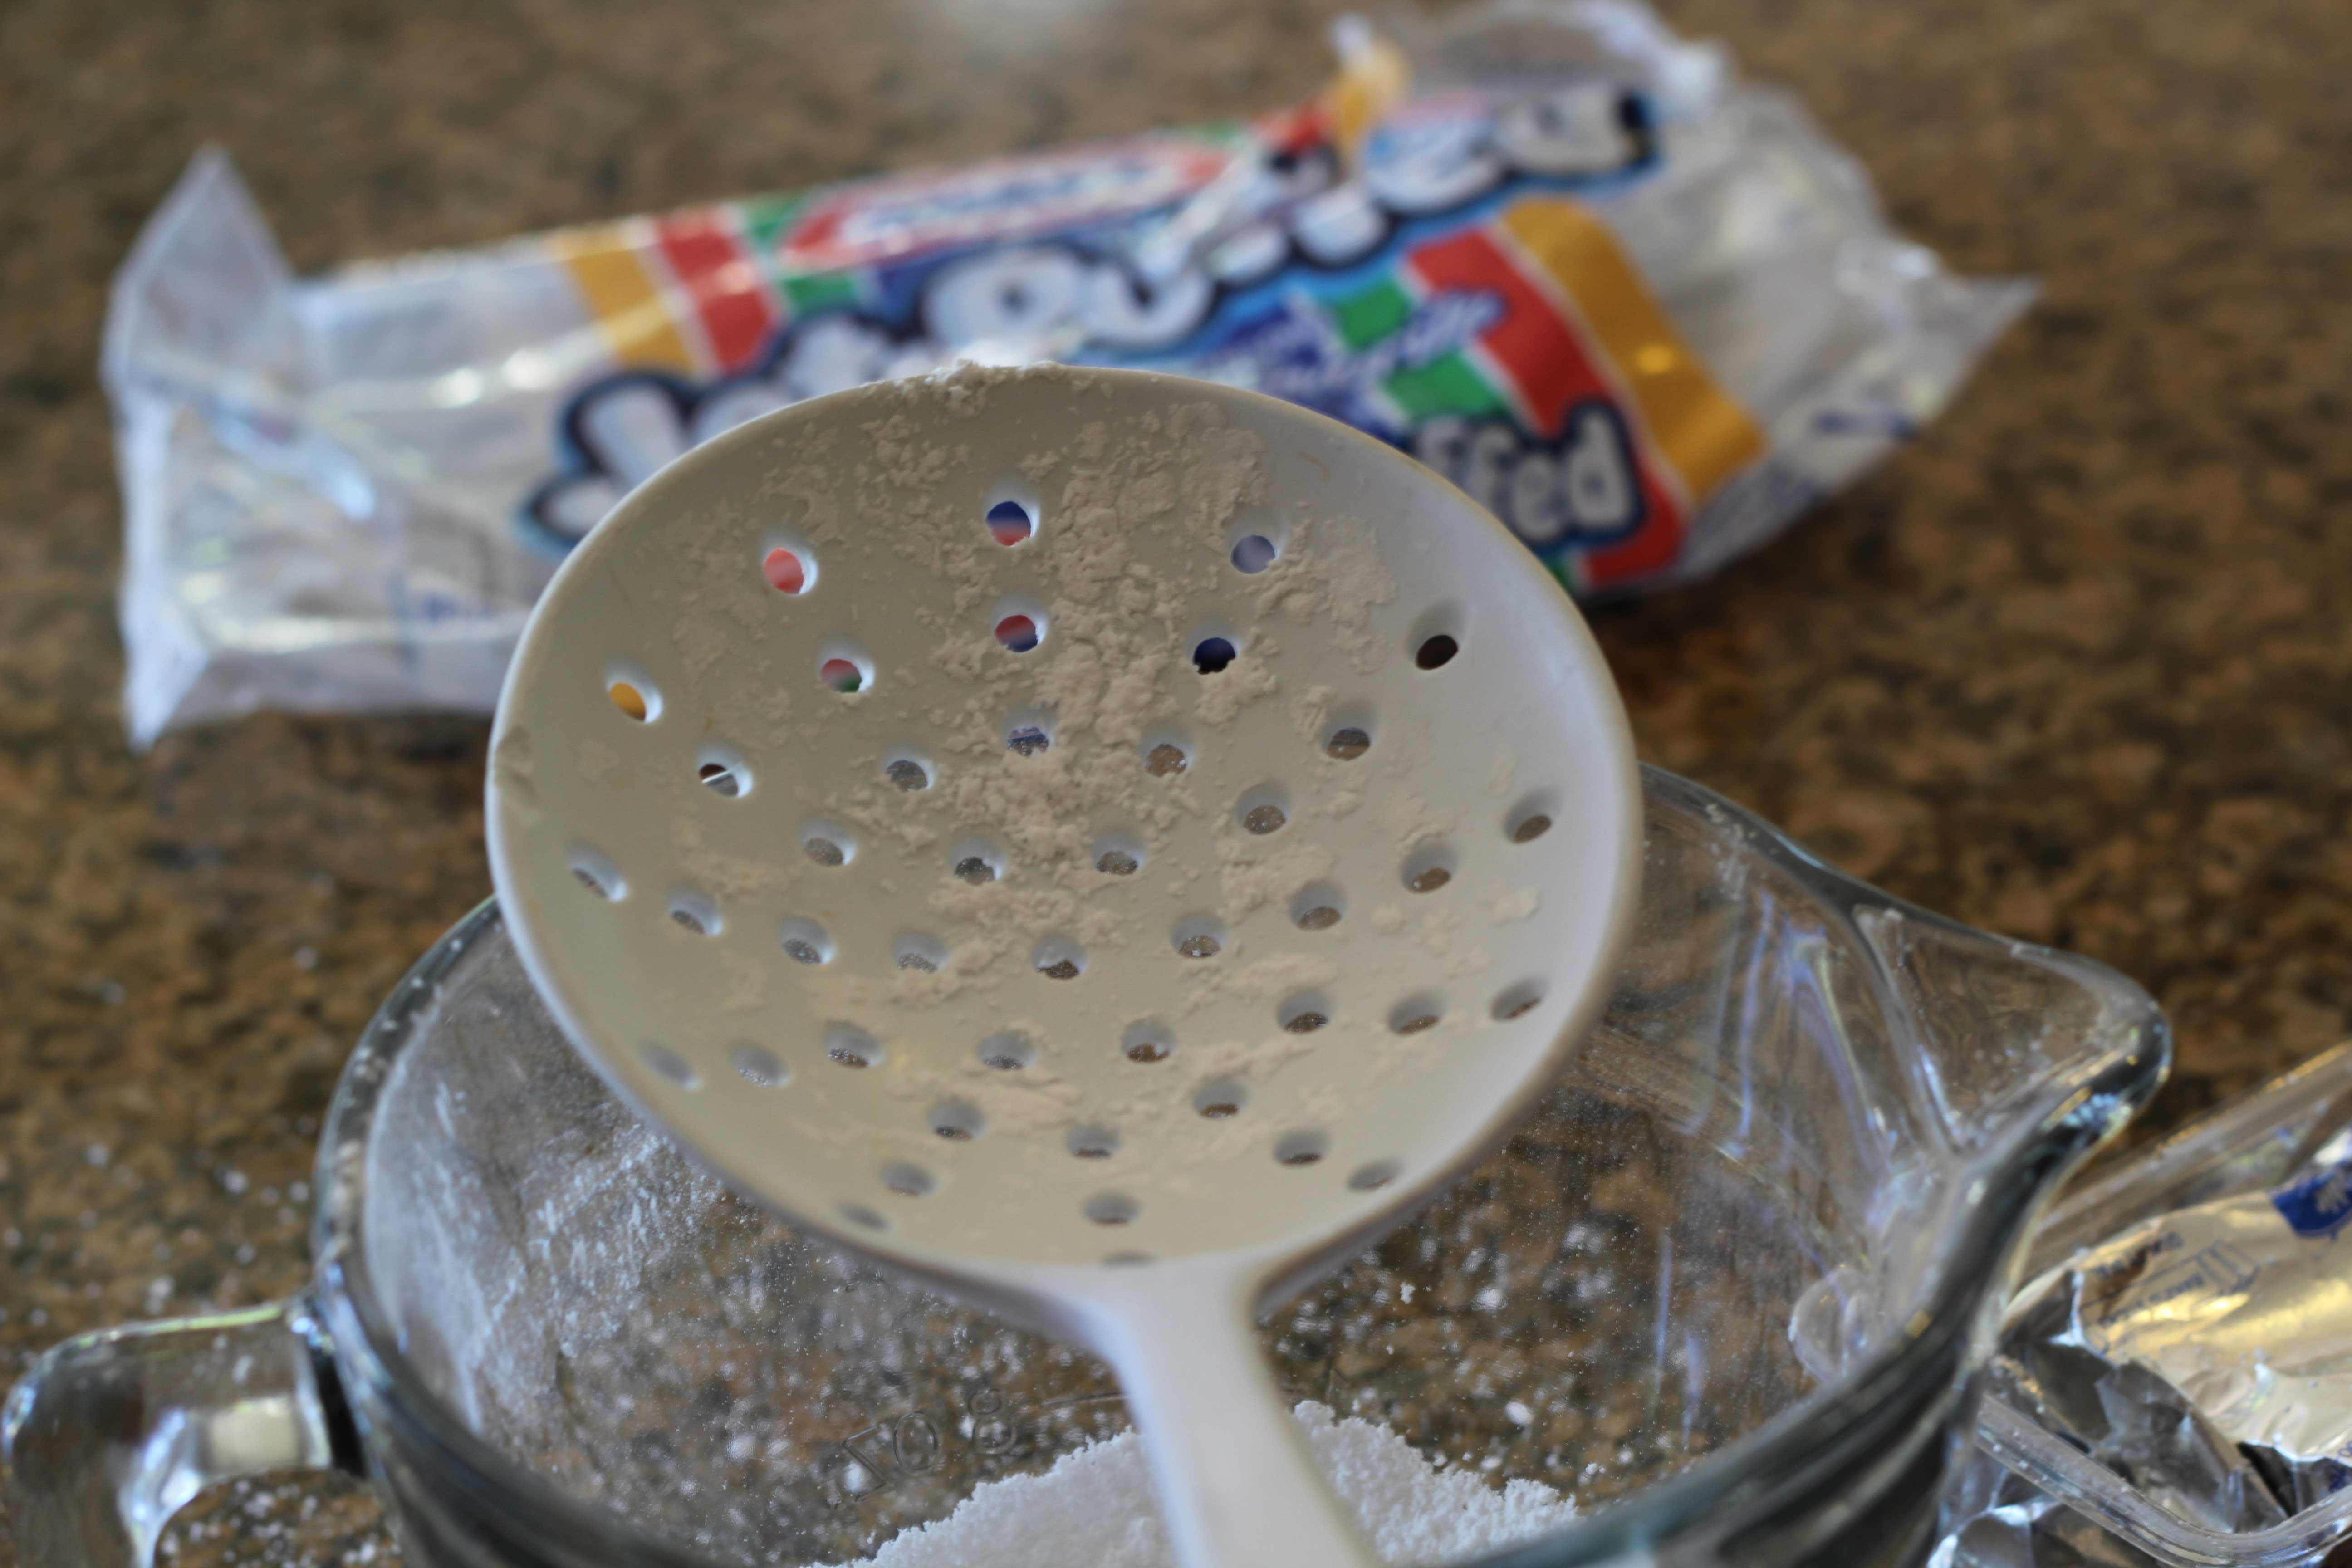
First you need to put 3 Tbsp. of shortening in your mixer. Second you need to sift your powdered sugar. As you can see I don't own a sifter, so I made do with this big pasta spoon and it worked just fine. This insures that your powdered sugar will not have lumps. If you do not sift the powdered sugar you will have a lumpy fondant.
Next step is to sprinkle 2 tsp of water on your marshmallows and mix until all your marshmallows have some water on them.

Now it is time to put the marshmallows in your microwave for 30 seconds at a time. Stir and then place them back in the microwave for another 30 seconds. Repeat this process until your marshmallows are melted. Once your marshmallows have melted, place them in the mixer with the shortening, add 1 cup sifted powdered sugar and mix on medium speed until the shortening and powdered sugar are incorporated. Keep mixing until the marshmallow mixture looks like icing: nice and soft (if you want to add color, you can do it now.). If you need to make multiple colors you can do it by hand kneading the color in later. Continue to add powdered sugar 1/2 cup at a time until it becomes thicker, but not too thick a consistency of fondant. It should be sticky, but not too sticky.


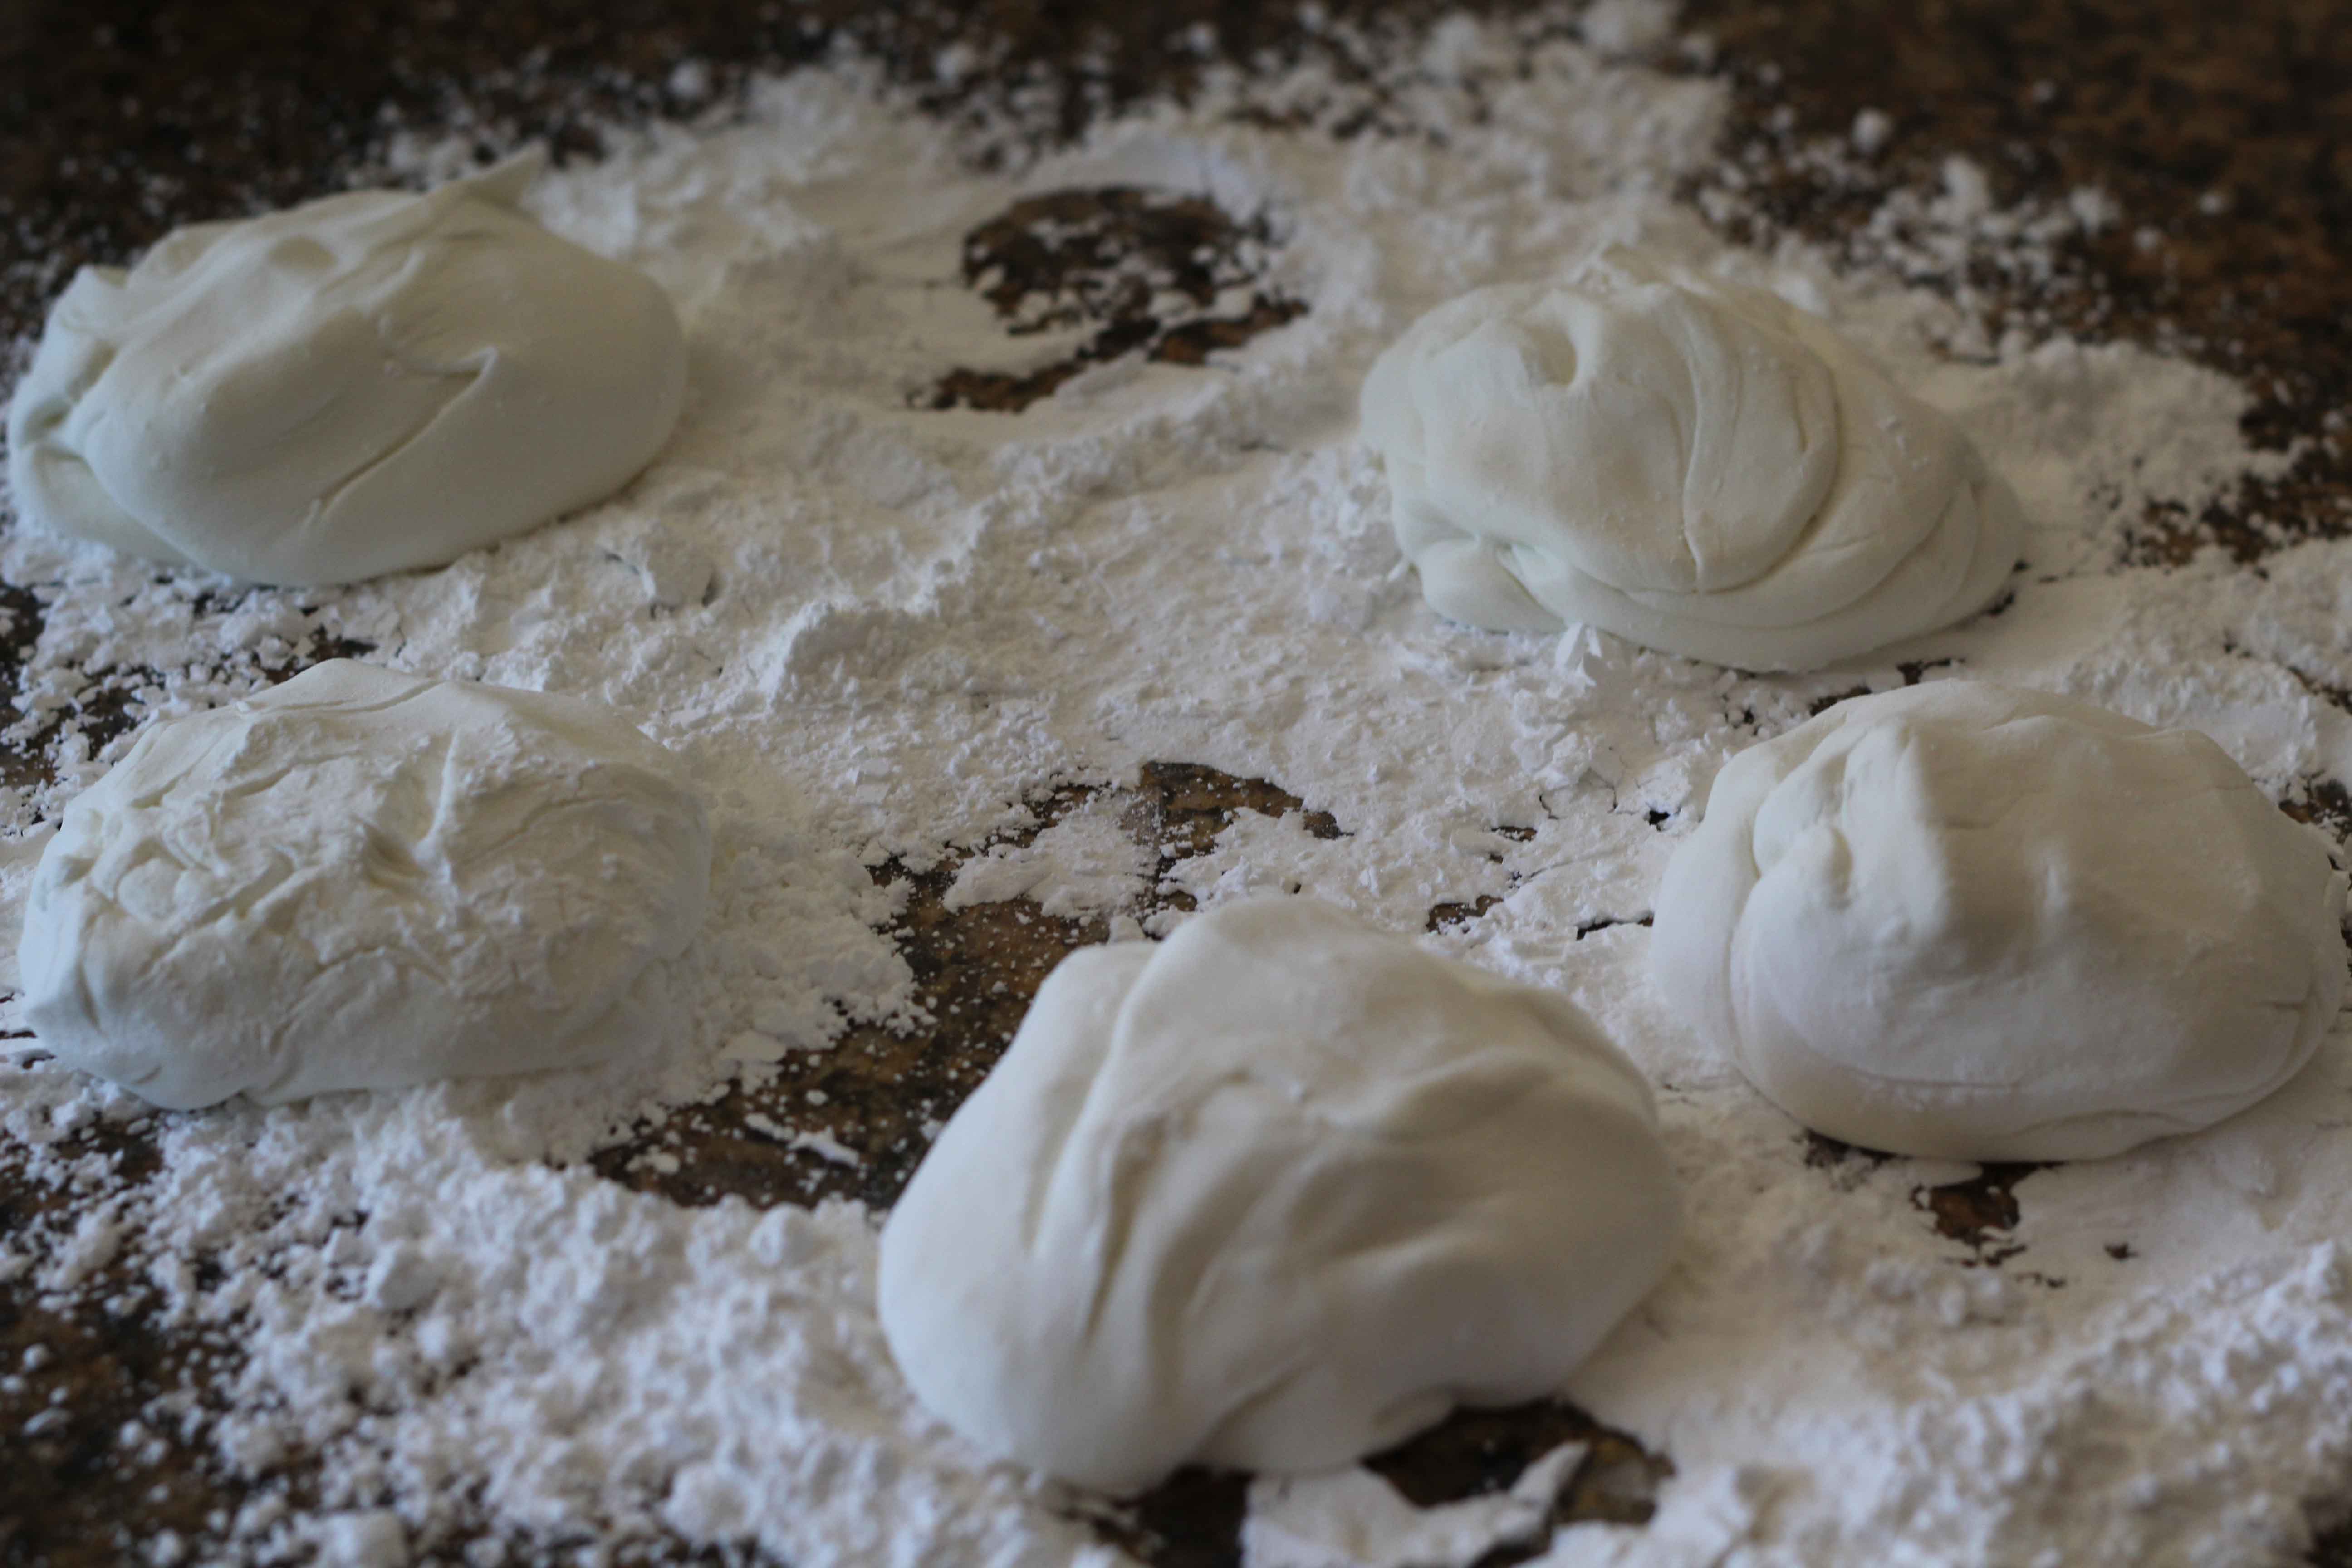
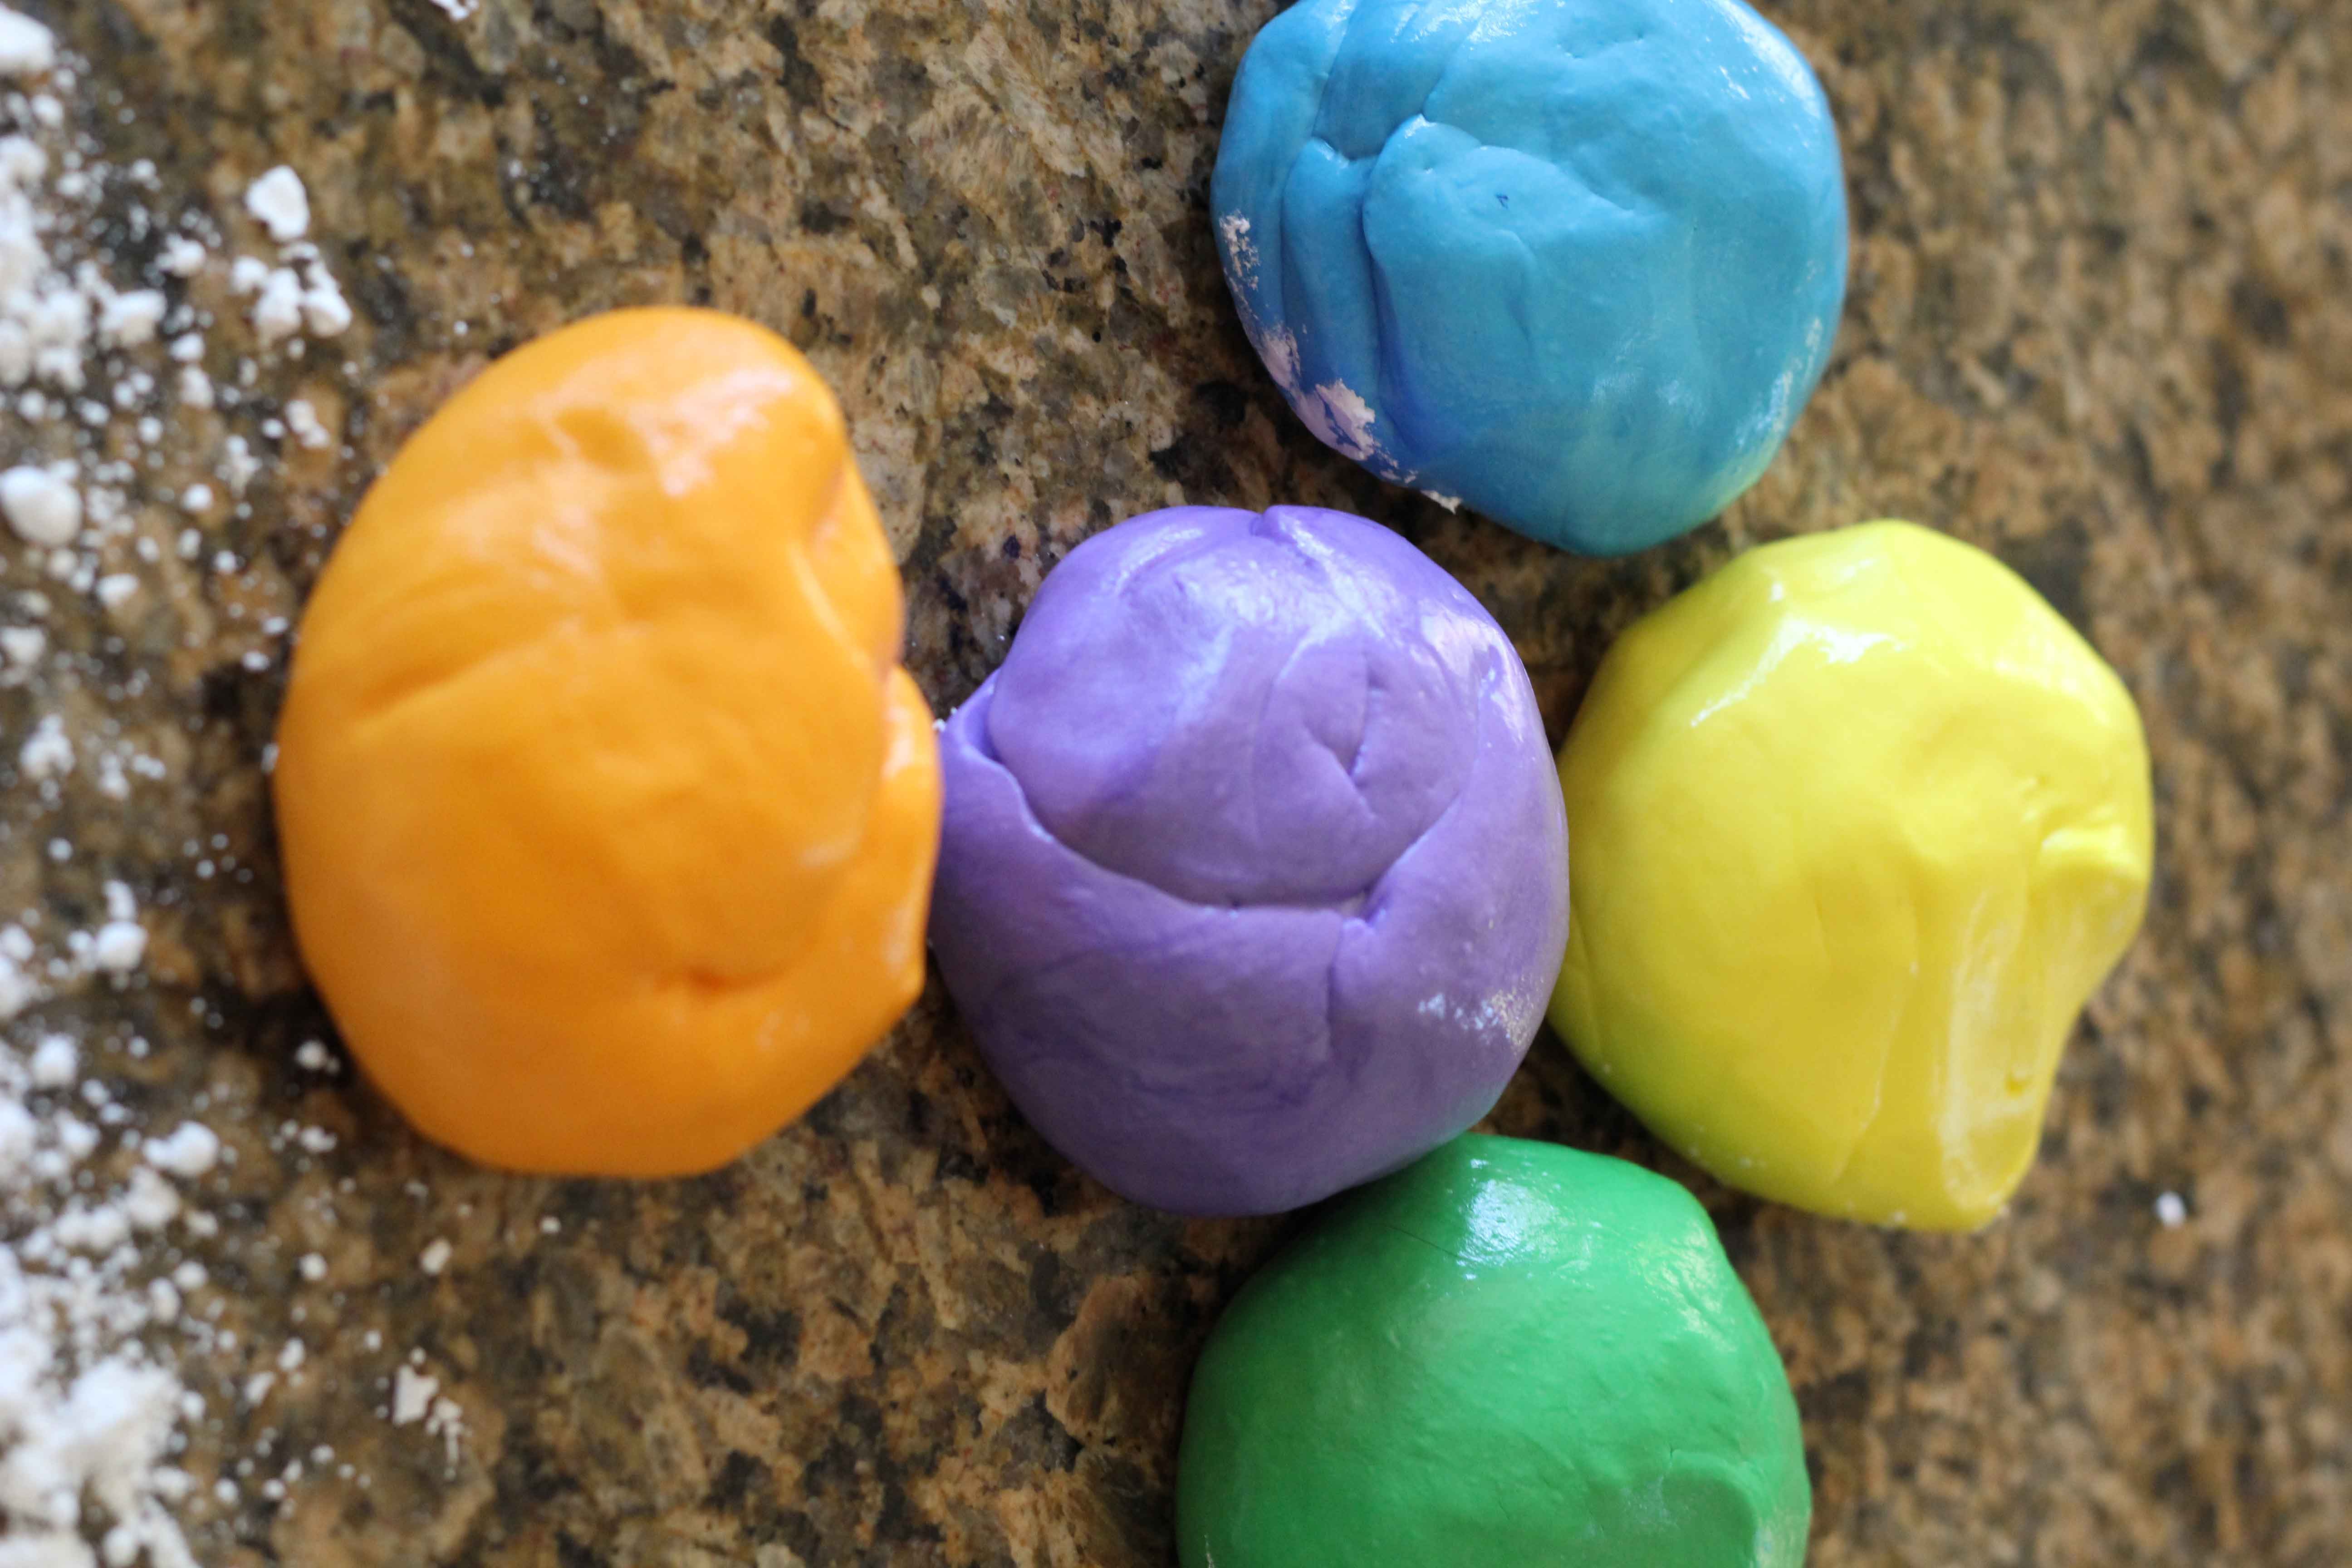
I divided my fondant into five small pieces.
I made a small indent where I could add my food coloring gel.
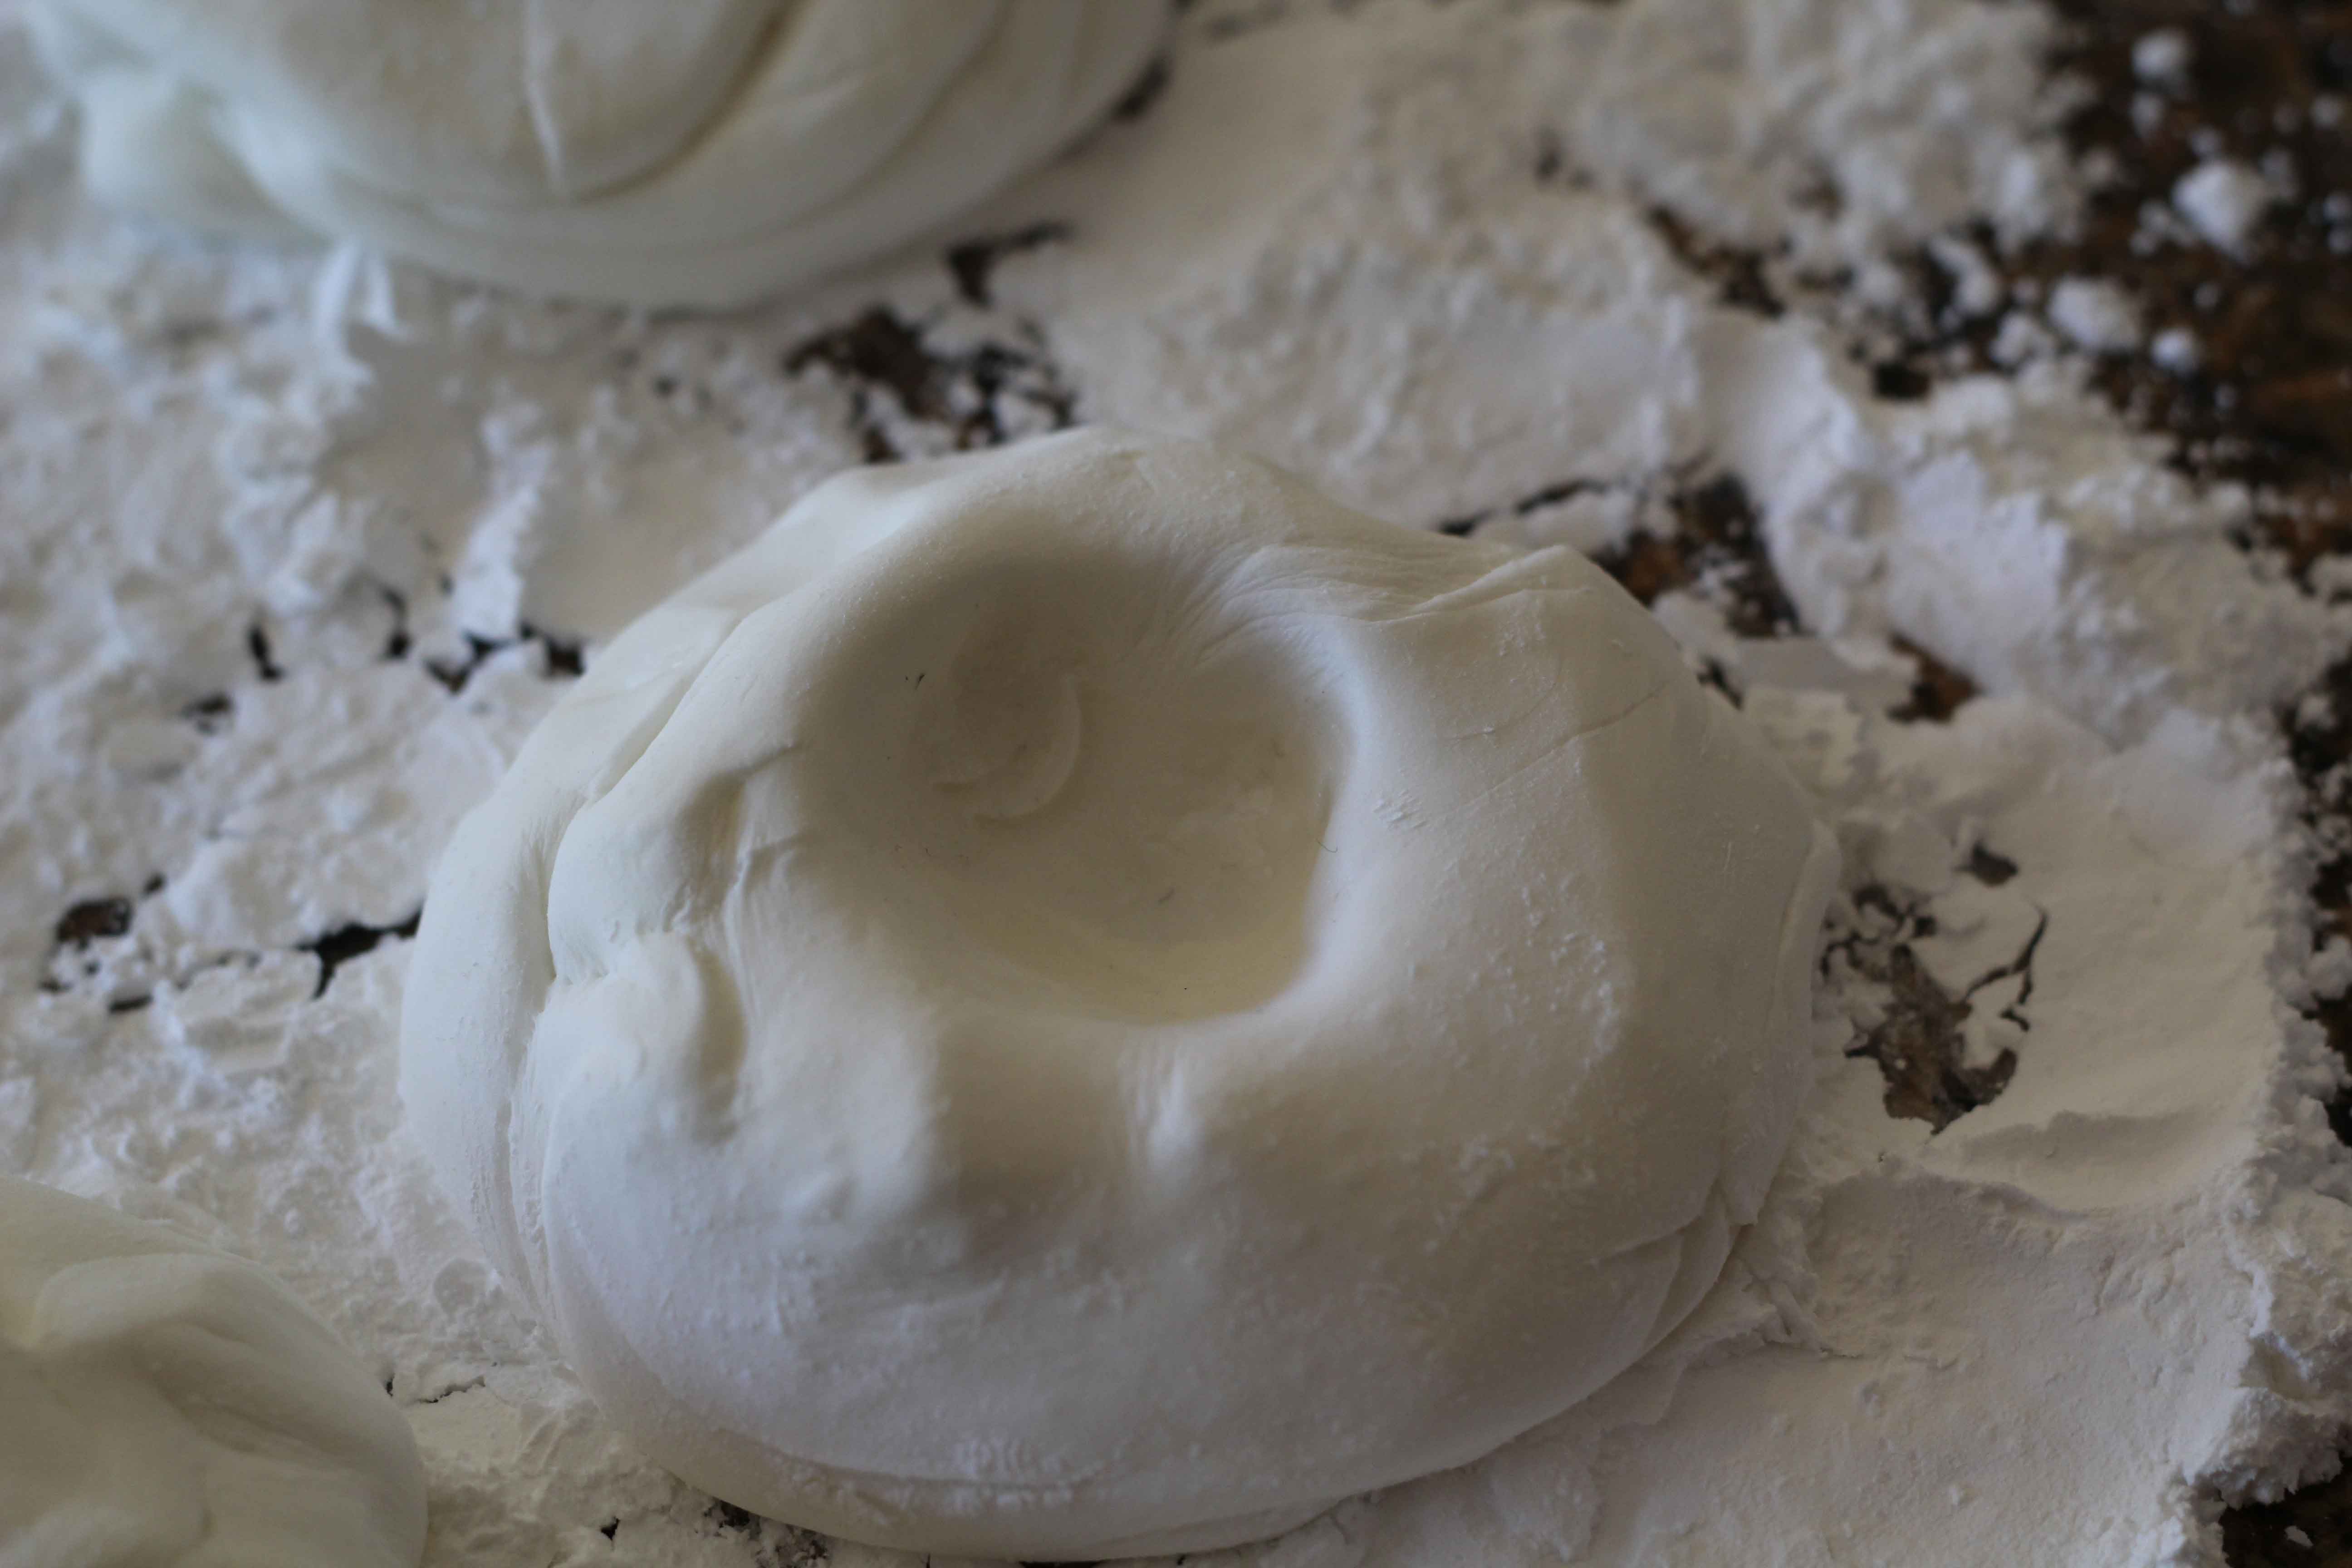
Coat your hand in shortening to prevent the fondant from sticking to your hands while kneading in the color. I added double the amount of food coloring you see in this picture to get the rich orange color.

Now that I had my fondant colored, it was time to decorate my cake! Time for my disclaimer....I've never decorated a cake with fondant before, or icing for that matter. I was a little nervous at this point about how my cake would turn out.
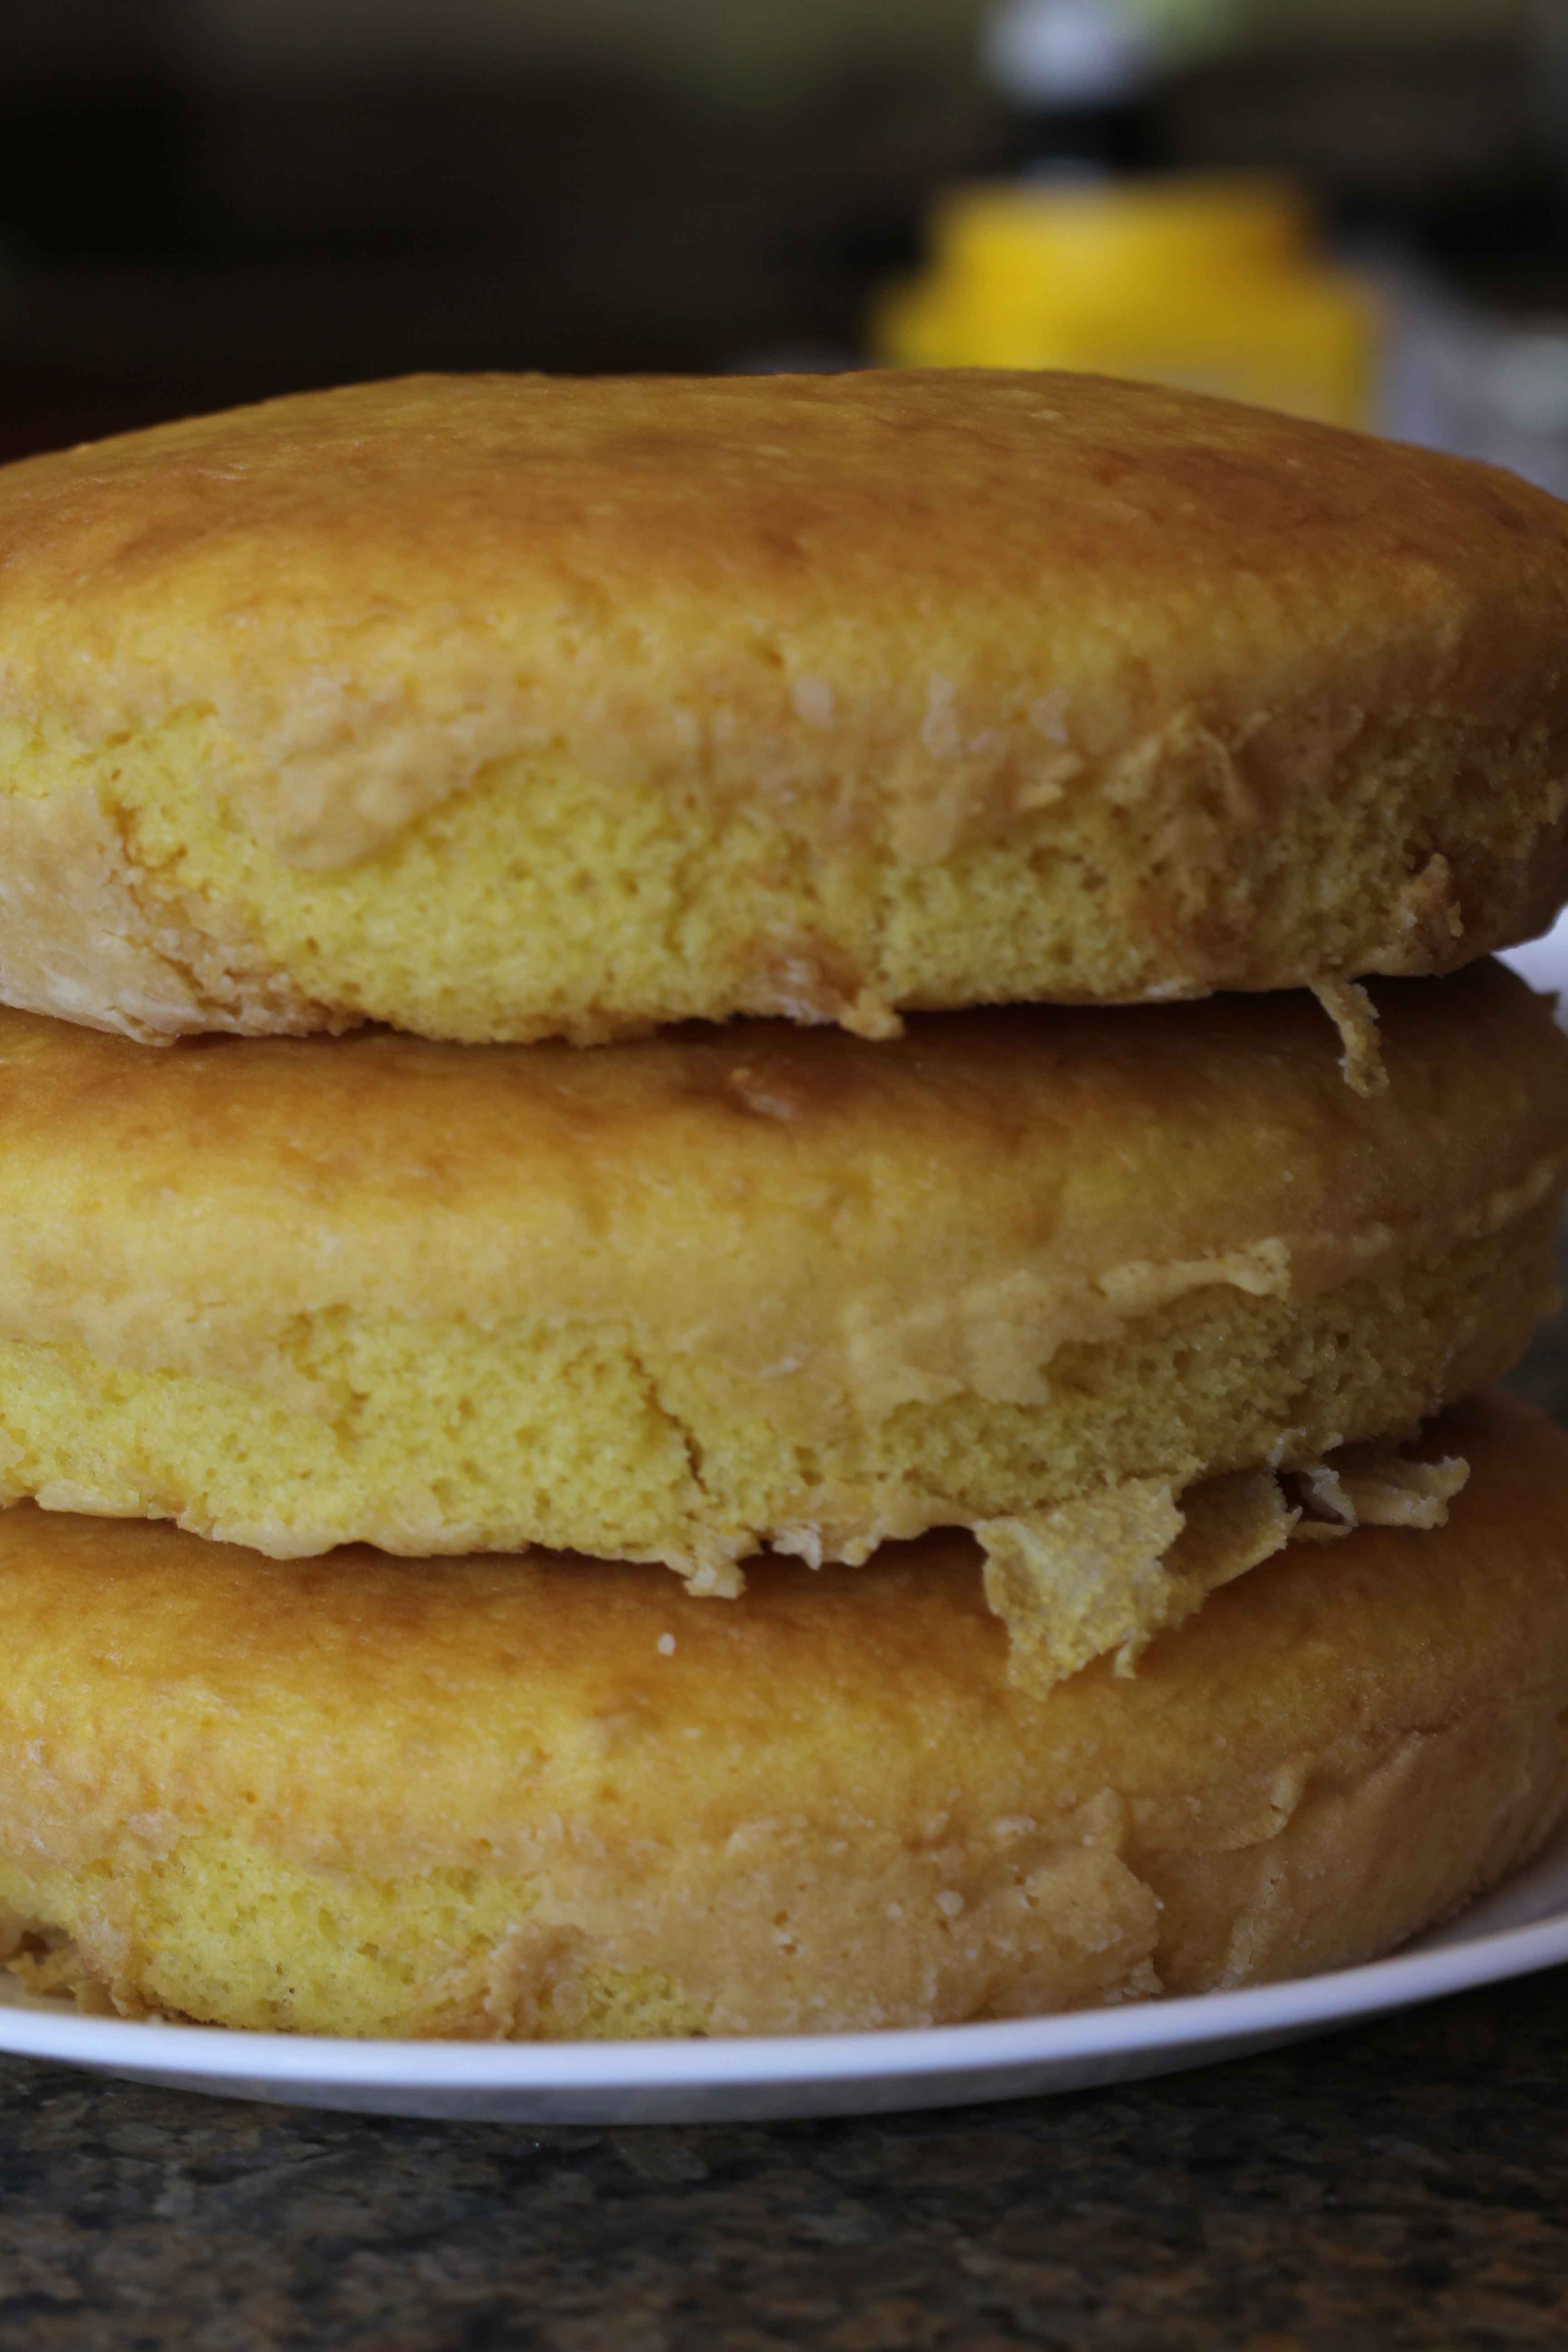
I made my cake in three layers, it turned out a little uneven. So I decided to "cut" it into a perfect symmetrical shape like Buddy does on Cake Boss. Ha, easier said than done! My cake is quite a bit smaller than when I started. I decided that this was close enough! I knew if I kept trying to get it perfect I was going to end up with a cupcake! It was time to roll out my fondant. Make sure your work surface is VERY clean. Then sift powdered sugar GENEROUSLY onto your work surface. You can knead in more powdered sugar if needed at this point. Then let your fondant sit until it is room temperature. This is the only time you can let it sit out without it drying out. When it is room temperature sprinkle more powdered sugar on top and roll it out.

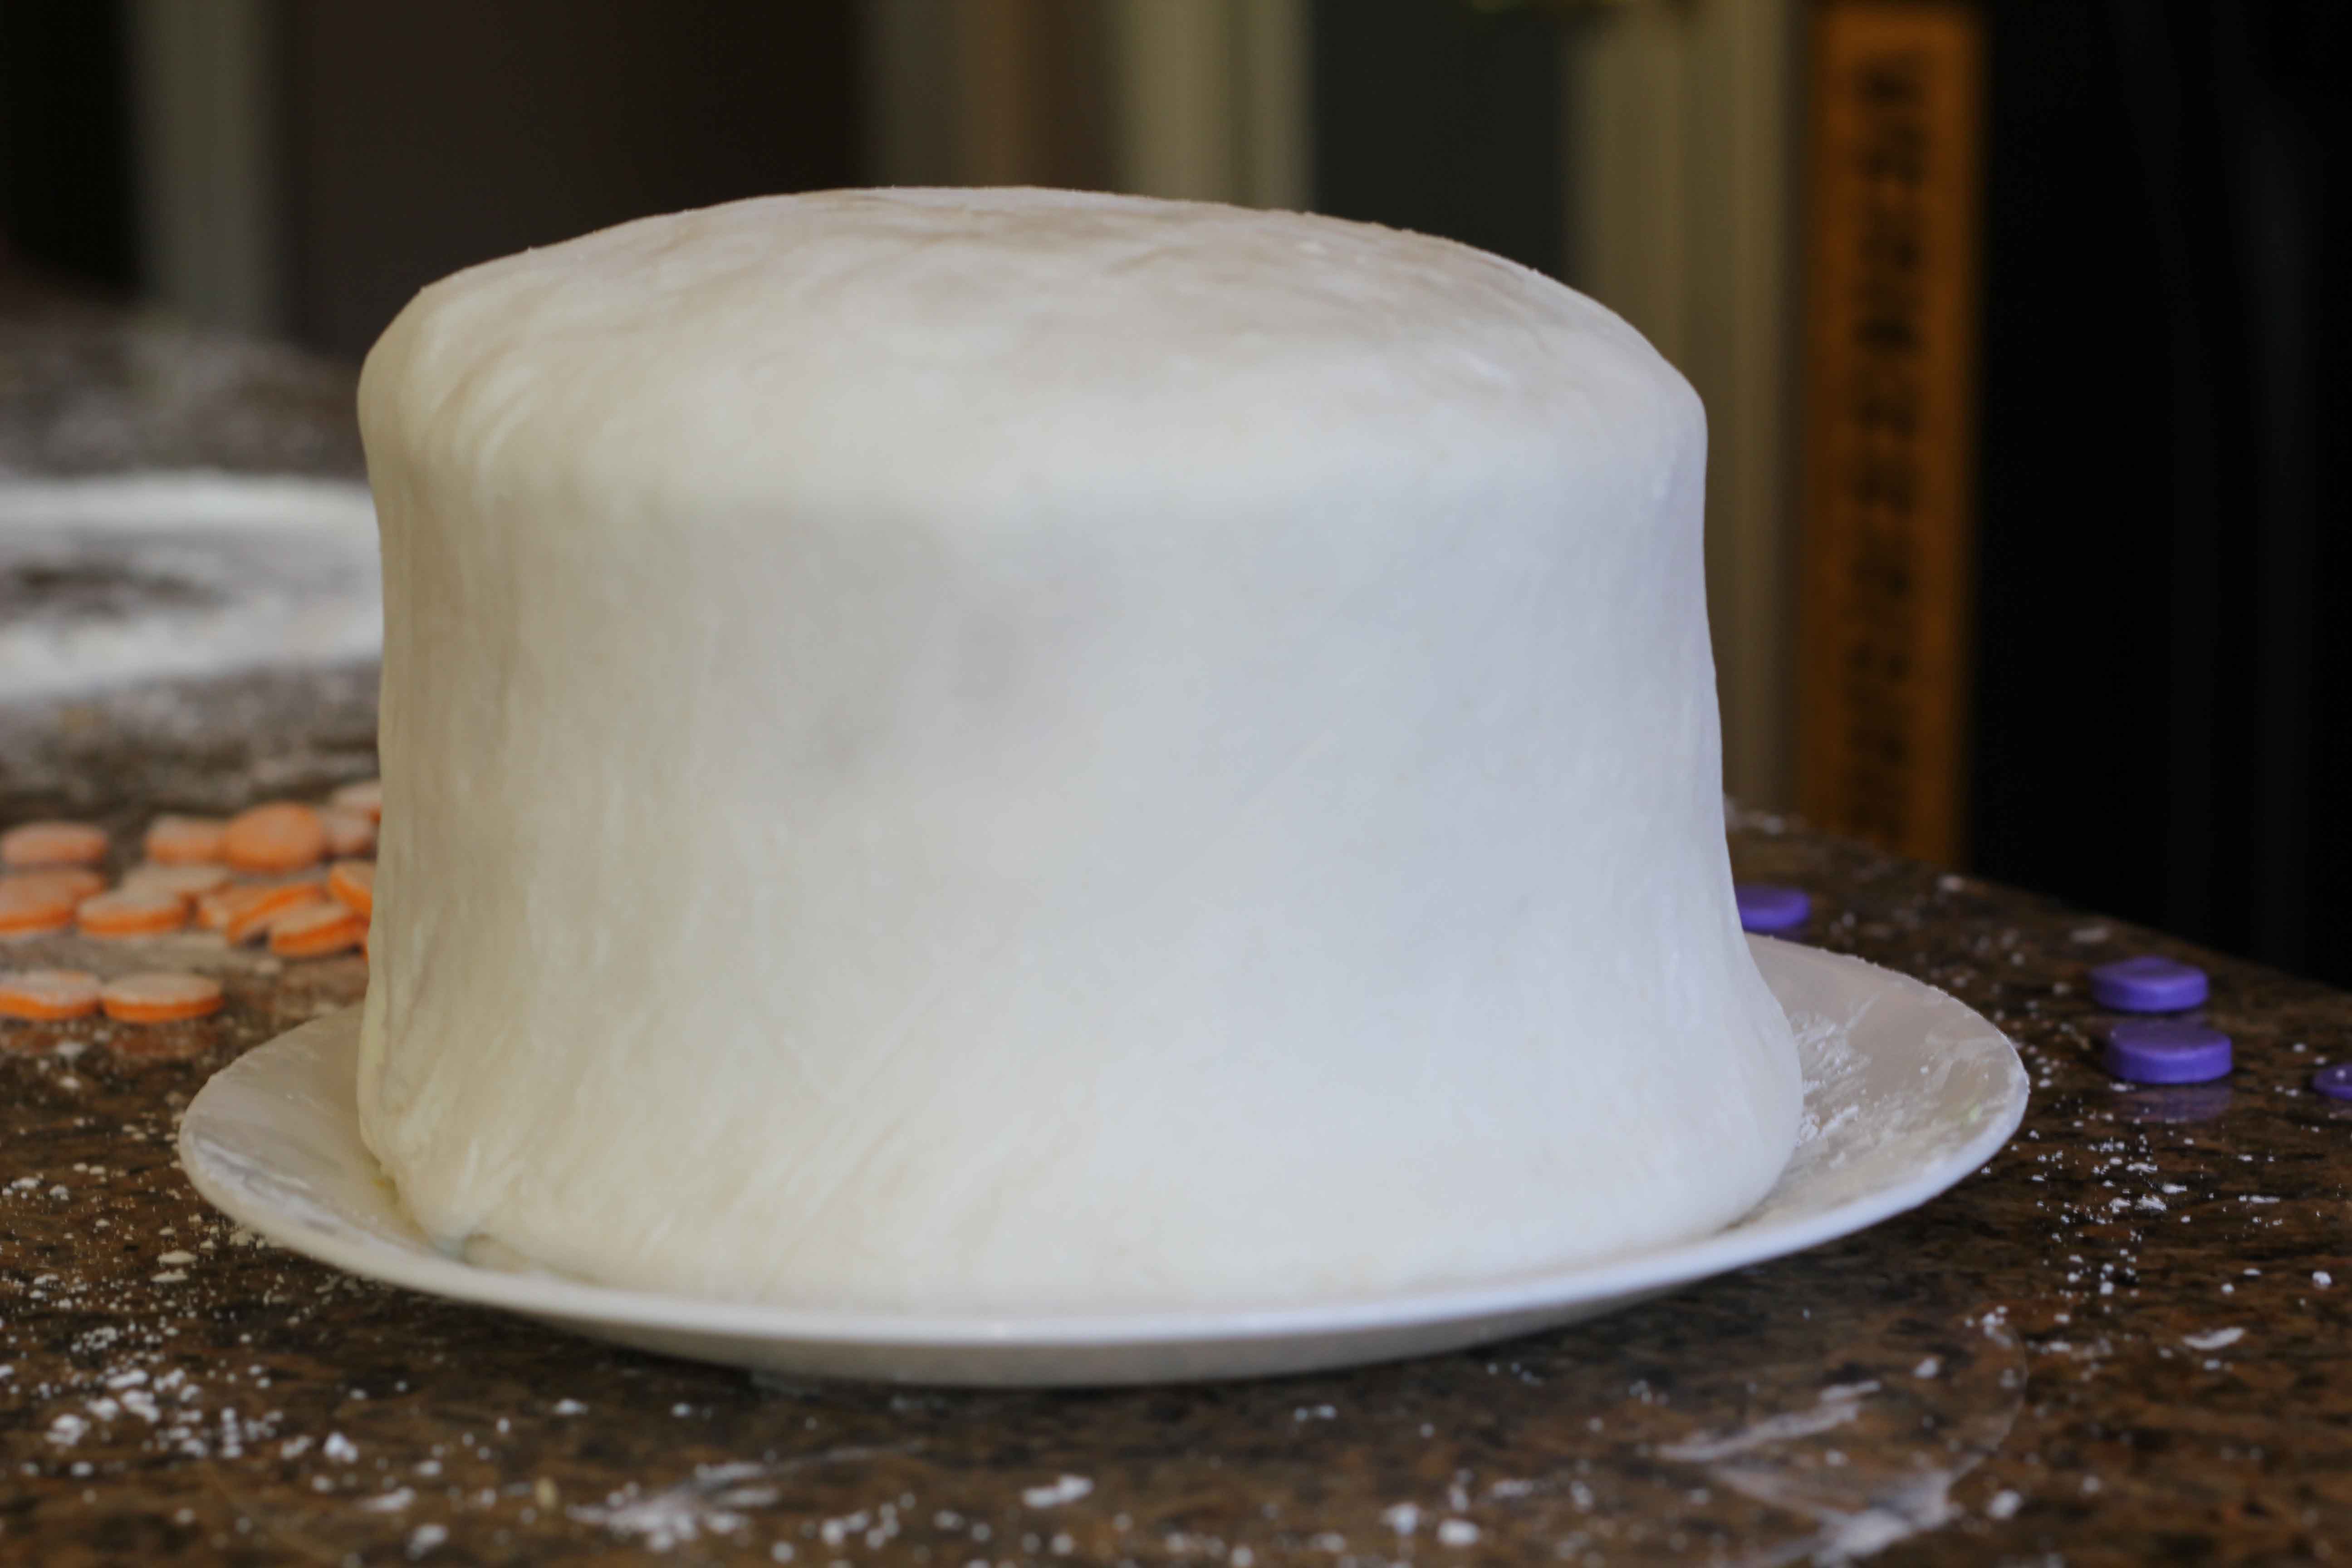
Pick it up carefully and place it over your cake. I made my circle as close to the size of the cake as possible to avoid extra fondant that would overlap and cause creases. Cut off the excess and you are ready to decorate.
I decided to go with a very simple polka dot cake since I have absolutely no cake decorating skills. Please do not judge the results too harshly, as the fondant performed perfectly and the cake decorator did not! Definitely lack of skills on my part!
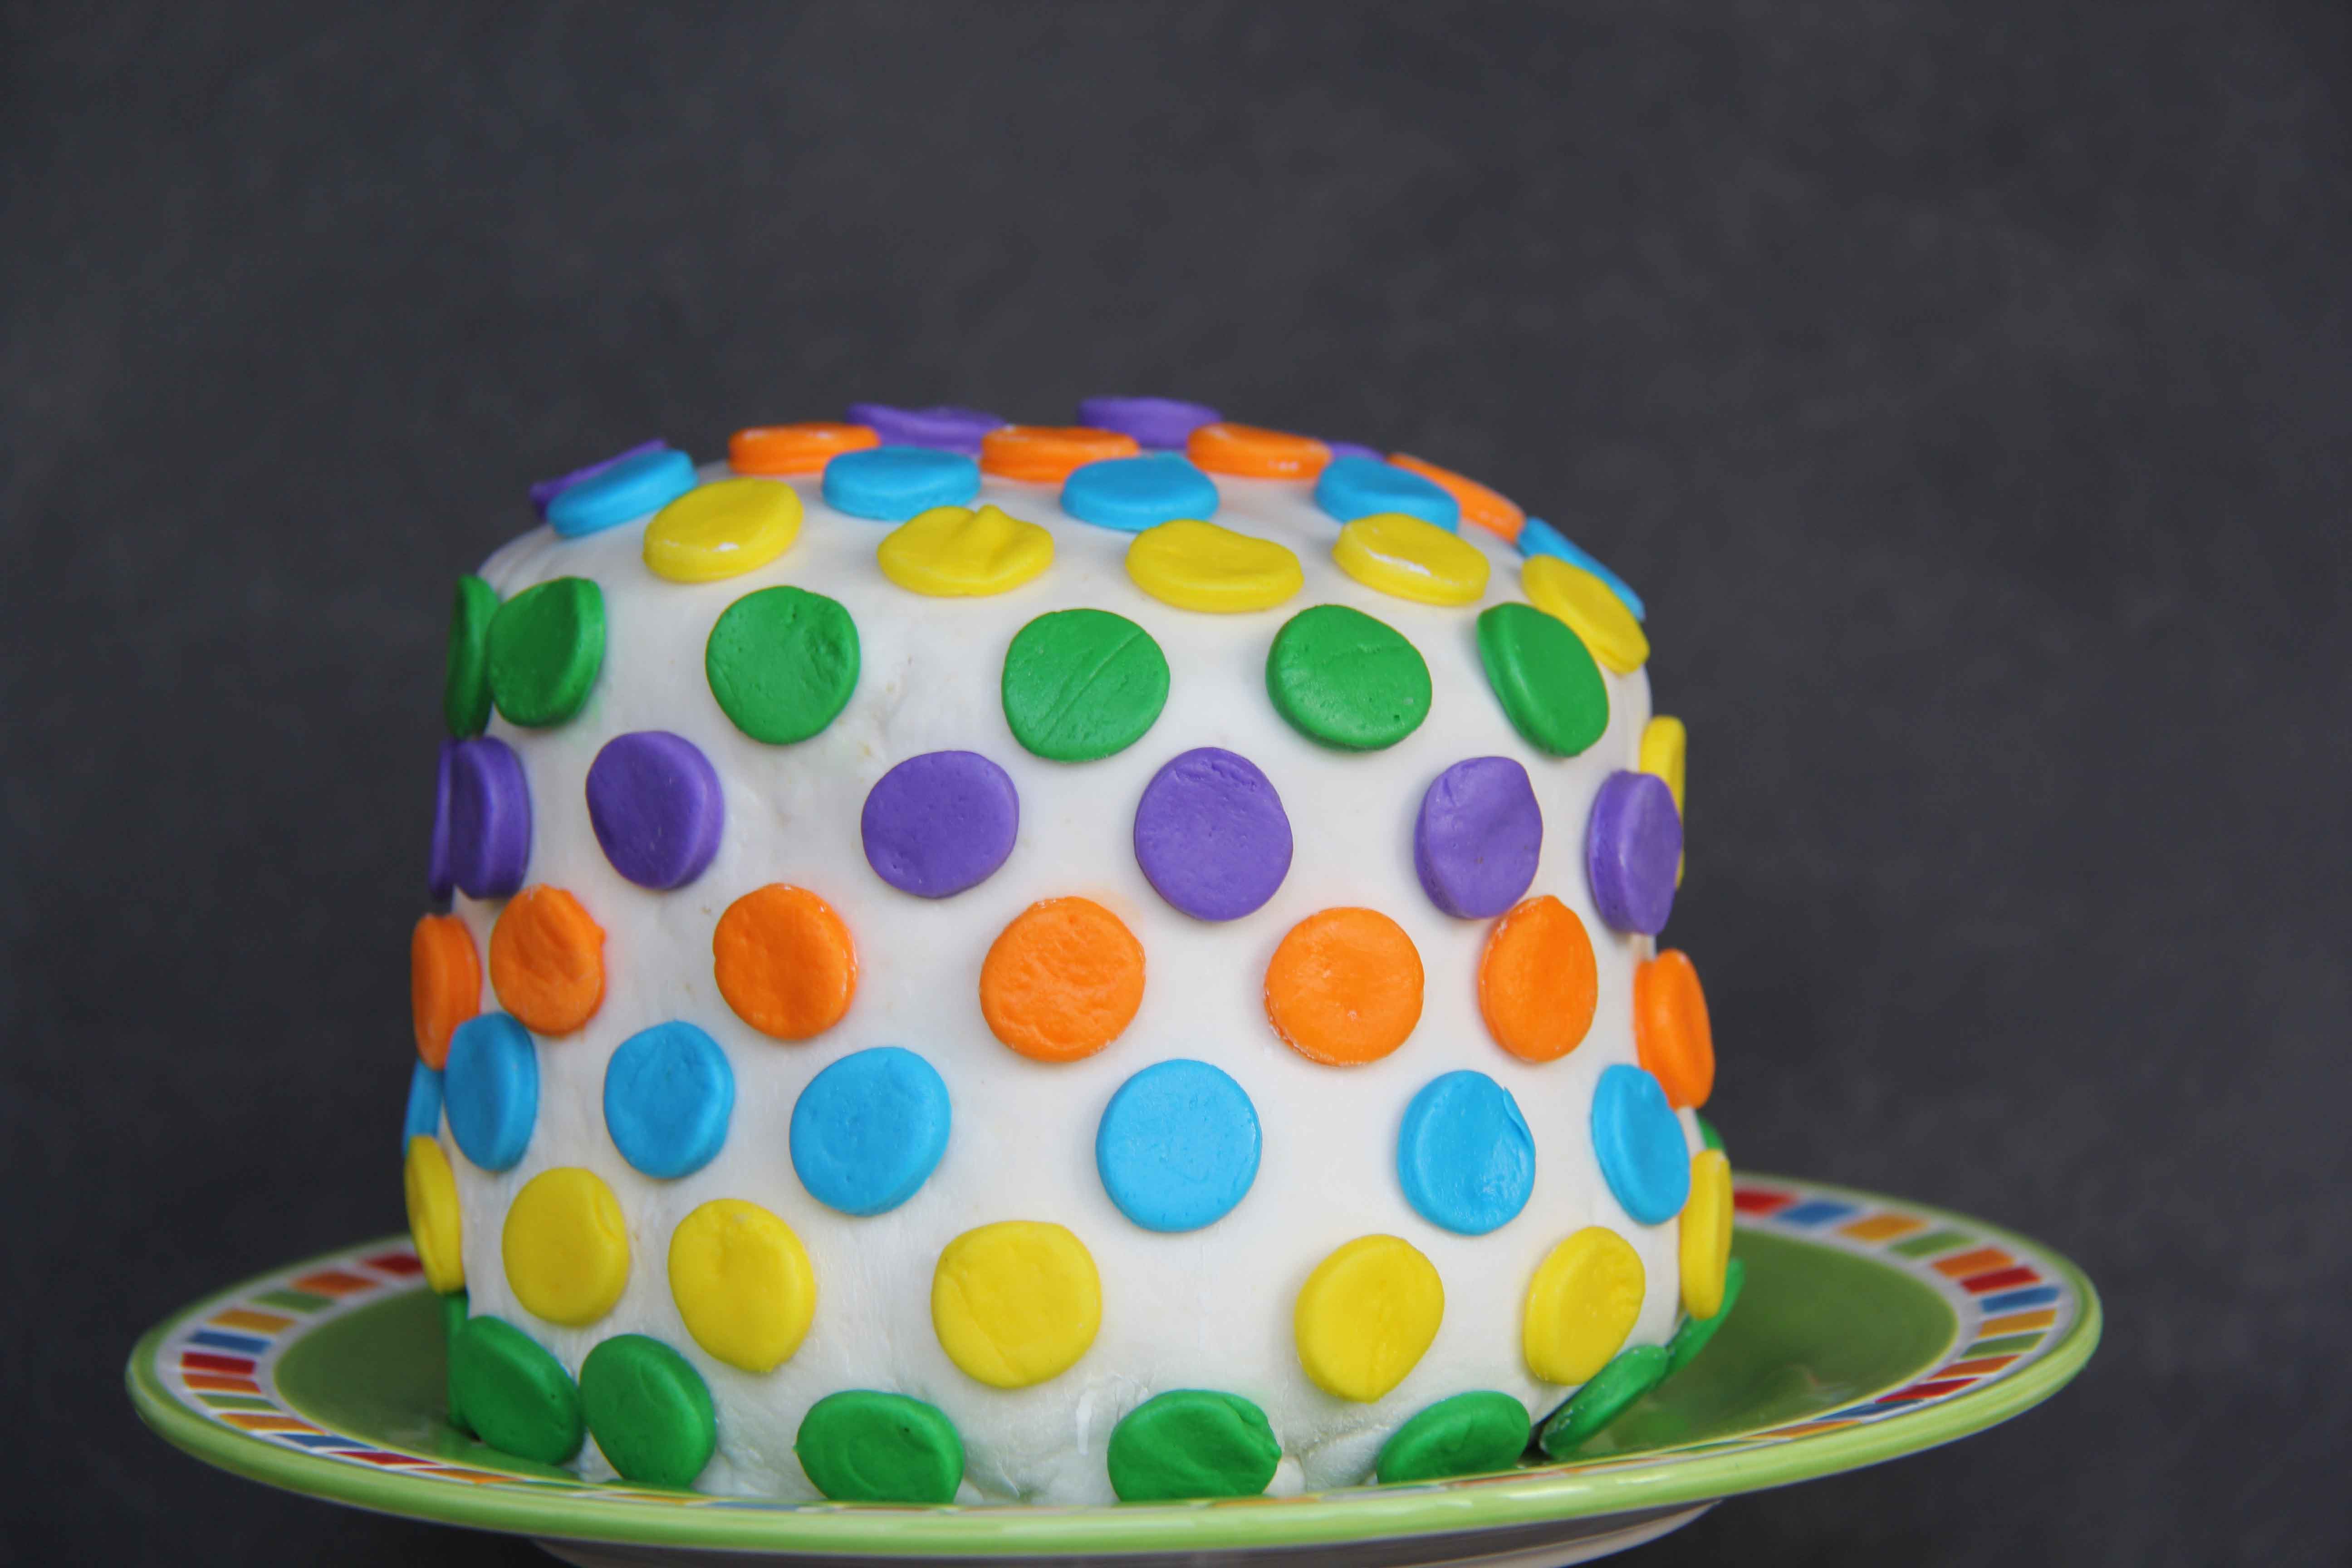
If you have extra fondant left over, roll it in a ball and cover with shortening. Then store it in a thick ziplock bag. (Freezer ziplock bags are best) It should stay soft for a week or so. I wanted to make sure that this fondant really works like it should, so I called a friend of mine who just happens to decorate cakes for a living. This is the exact recipe that she uses and loves. I asked her for a picture of a cake that demonstrates how well marshmallow fondant works in the hands of a true professional. Here is a picture of the darling cake she sent me!

Yup....This Pin totally ROCKS! Wouldn't it be fun if you could make a polka dot cake inside and out? Well, you can! Check out this tutorial for how to make polka dots on the inside of your cake.
Fondant Homemade Recipe
Recipe Type: Homemade Marshmallow Fondant
Author:
Ingredients
- 1 bag mini Marshmallows
- 2 tsp water
- 3 tablespoons shortening
- 2 to 3 cups Powdered Sugar
- Food coloring(s) of choice
Instructions
- Sift powdered sugar and set aside. If your powder sugar is not sifted you will have lumps in your fondant.
- Place 3 tablespoons of shortening in your mixing bowl or kitchen aid.
- Place bag of mini marshmallow in a micro safe bowl. Sprinkle 2 tsp of water over marshmallows and mix to coat.
- Microwave for 30 seconds and stir. Continue to microwave for 30 and and stir until Marshmallows are melted.
- Pour melted Marshmallows over shortening, add one cup sifted powdered sugar. Mix until the Marshmallow mixture looks like icing; nice and soft. (If you want to add color you can do it now) If you are using multiple colors you can hand knead it in later.
- Add more powdered sugar, adding a 1/2 cup at a time until it comes to a thicker, but not to thick consistency of fondant. You want it sticky but not to sticky.
- Make sure your work surface is very clean, sprinkle generously with sifted powdered sugar. Use a spoon to scrape your fondant out of the bowl and place on the sugared work surface. Coat your hands with shortening if you need to knead more powdered sugar into your fondant. Or if you are going to hand knead in color.
- Roll out your fondant to the shape you want, carefully transfer it to your cake.
- Tips for a square/rectangle cake; do the corners first by forming them around the cake, then do the sides. Use a small roller to cut the excess fondant from the cake.
- For a round cake, shape your fondant into a circle that is the same diameter as your cake. Cut off the excess fondant, tuck the edge of the fondant under to cake bottom.
 :.
:.